Core

This chapter is about the construction of the core. I will list all the materials I used and describe in detail how I assembled all the parts to build the wings, frame and tail.
Material#
The core of the aircraft consists of
- XPS foam boards,
- Hot glue
- Wooden skewers
- Aluminium bar (2cm x 2cm x 200cm)
- wire
- tape.
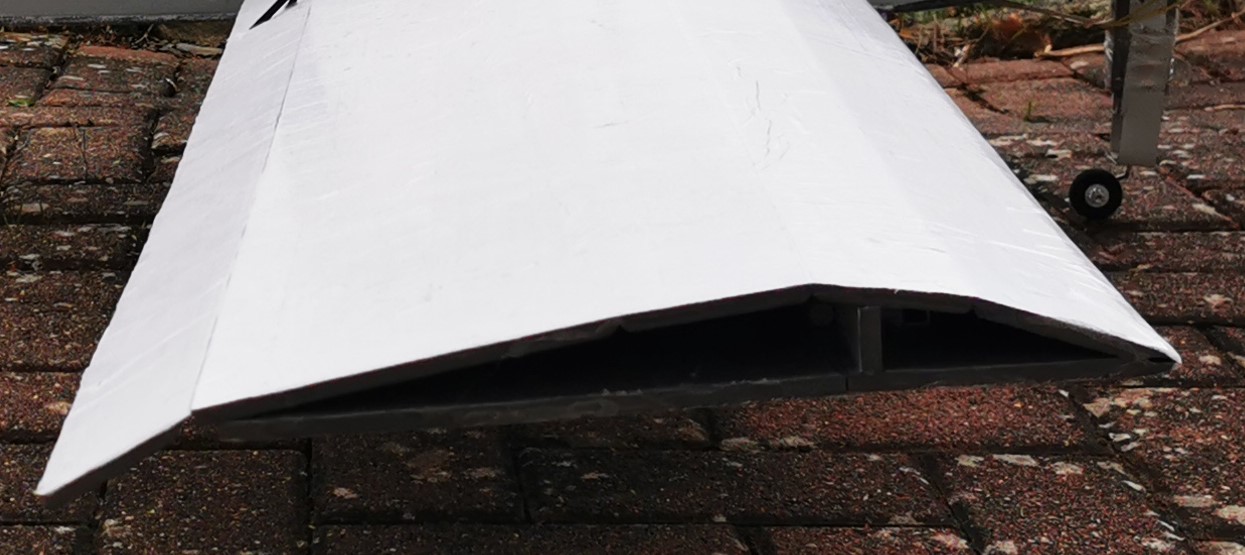
The base material of the aircraft (fuselage, wings, rudders and tail) is XPS. Extruded polystyrene (XPS) is lightweight and ensures sufficient stability. A layer of tape on the outward facing side of the aircraft provides additional stability and a smooth surface. I used commercial (wide) tape for this. On hobbyking you can also find special tape for the wings. Since I did not want to wait for the delivery I just bought normal packaging tabe. So far I have not regretted it.
After a few attempts at foiling the already assembled parts, I decided to foil the entire panels then cut out the molds. It is much easier to add the tape to a flat surface, than already shaped objects. In this way, no tension is added that could cause bending of the wings, for example. After I cut out the necessary parts, they had to be glued together somehow. I used hot glue and standard wooden skewers to connect the elements.
The hot glue can melt the XPS if the temperature is too high.
Adjust the temperature or just pull the plug and wait a little.
Parts and Layout#
I built most parts just by feel and reinforced them with wooden skewers as needed if they seemed unstable.
However, the shape of the wings must be well planned, as they provide the lift and are therefore the most important parts of the aircraft.
Wings#
I used this youtube video to build the wings.
I made the wings much wider because I want to add some weight later and keep the opportunity to carry multiple lipos and solar cells.
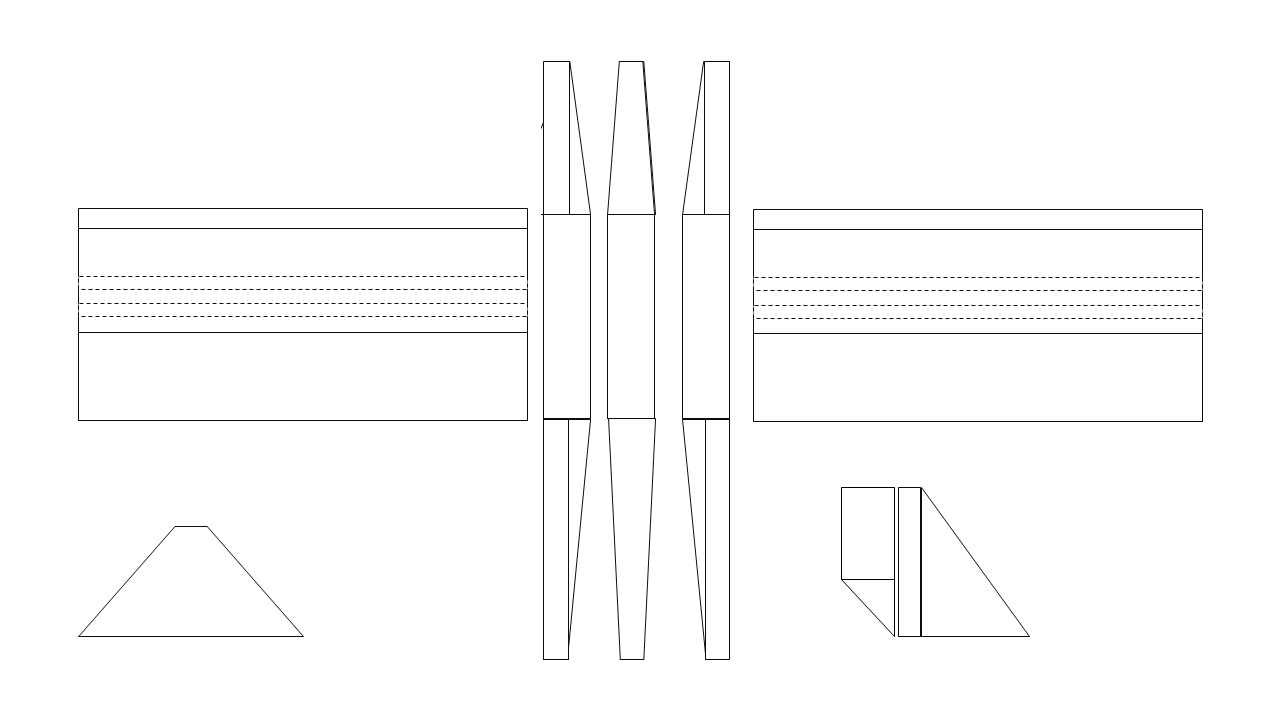
My wings are 30cm wide and 100cm long each. As described in the video, I split the foamboart into two parts. A 30 cm base plate and a roughly 40cm upper plate.
The upper plate can be a little too large, since the rear part becomes the rudder, which you can shorten later as desired.
After tapering the two edges of the foam that form the front edge, I trimmed the dotted lines and removed some material.
This creates a rounded shape when the wings are folded.
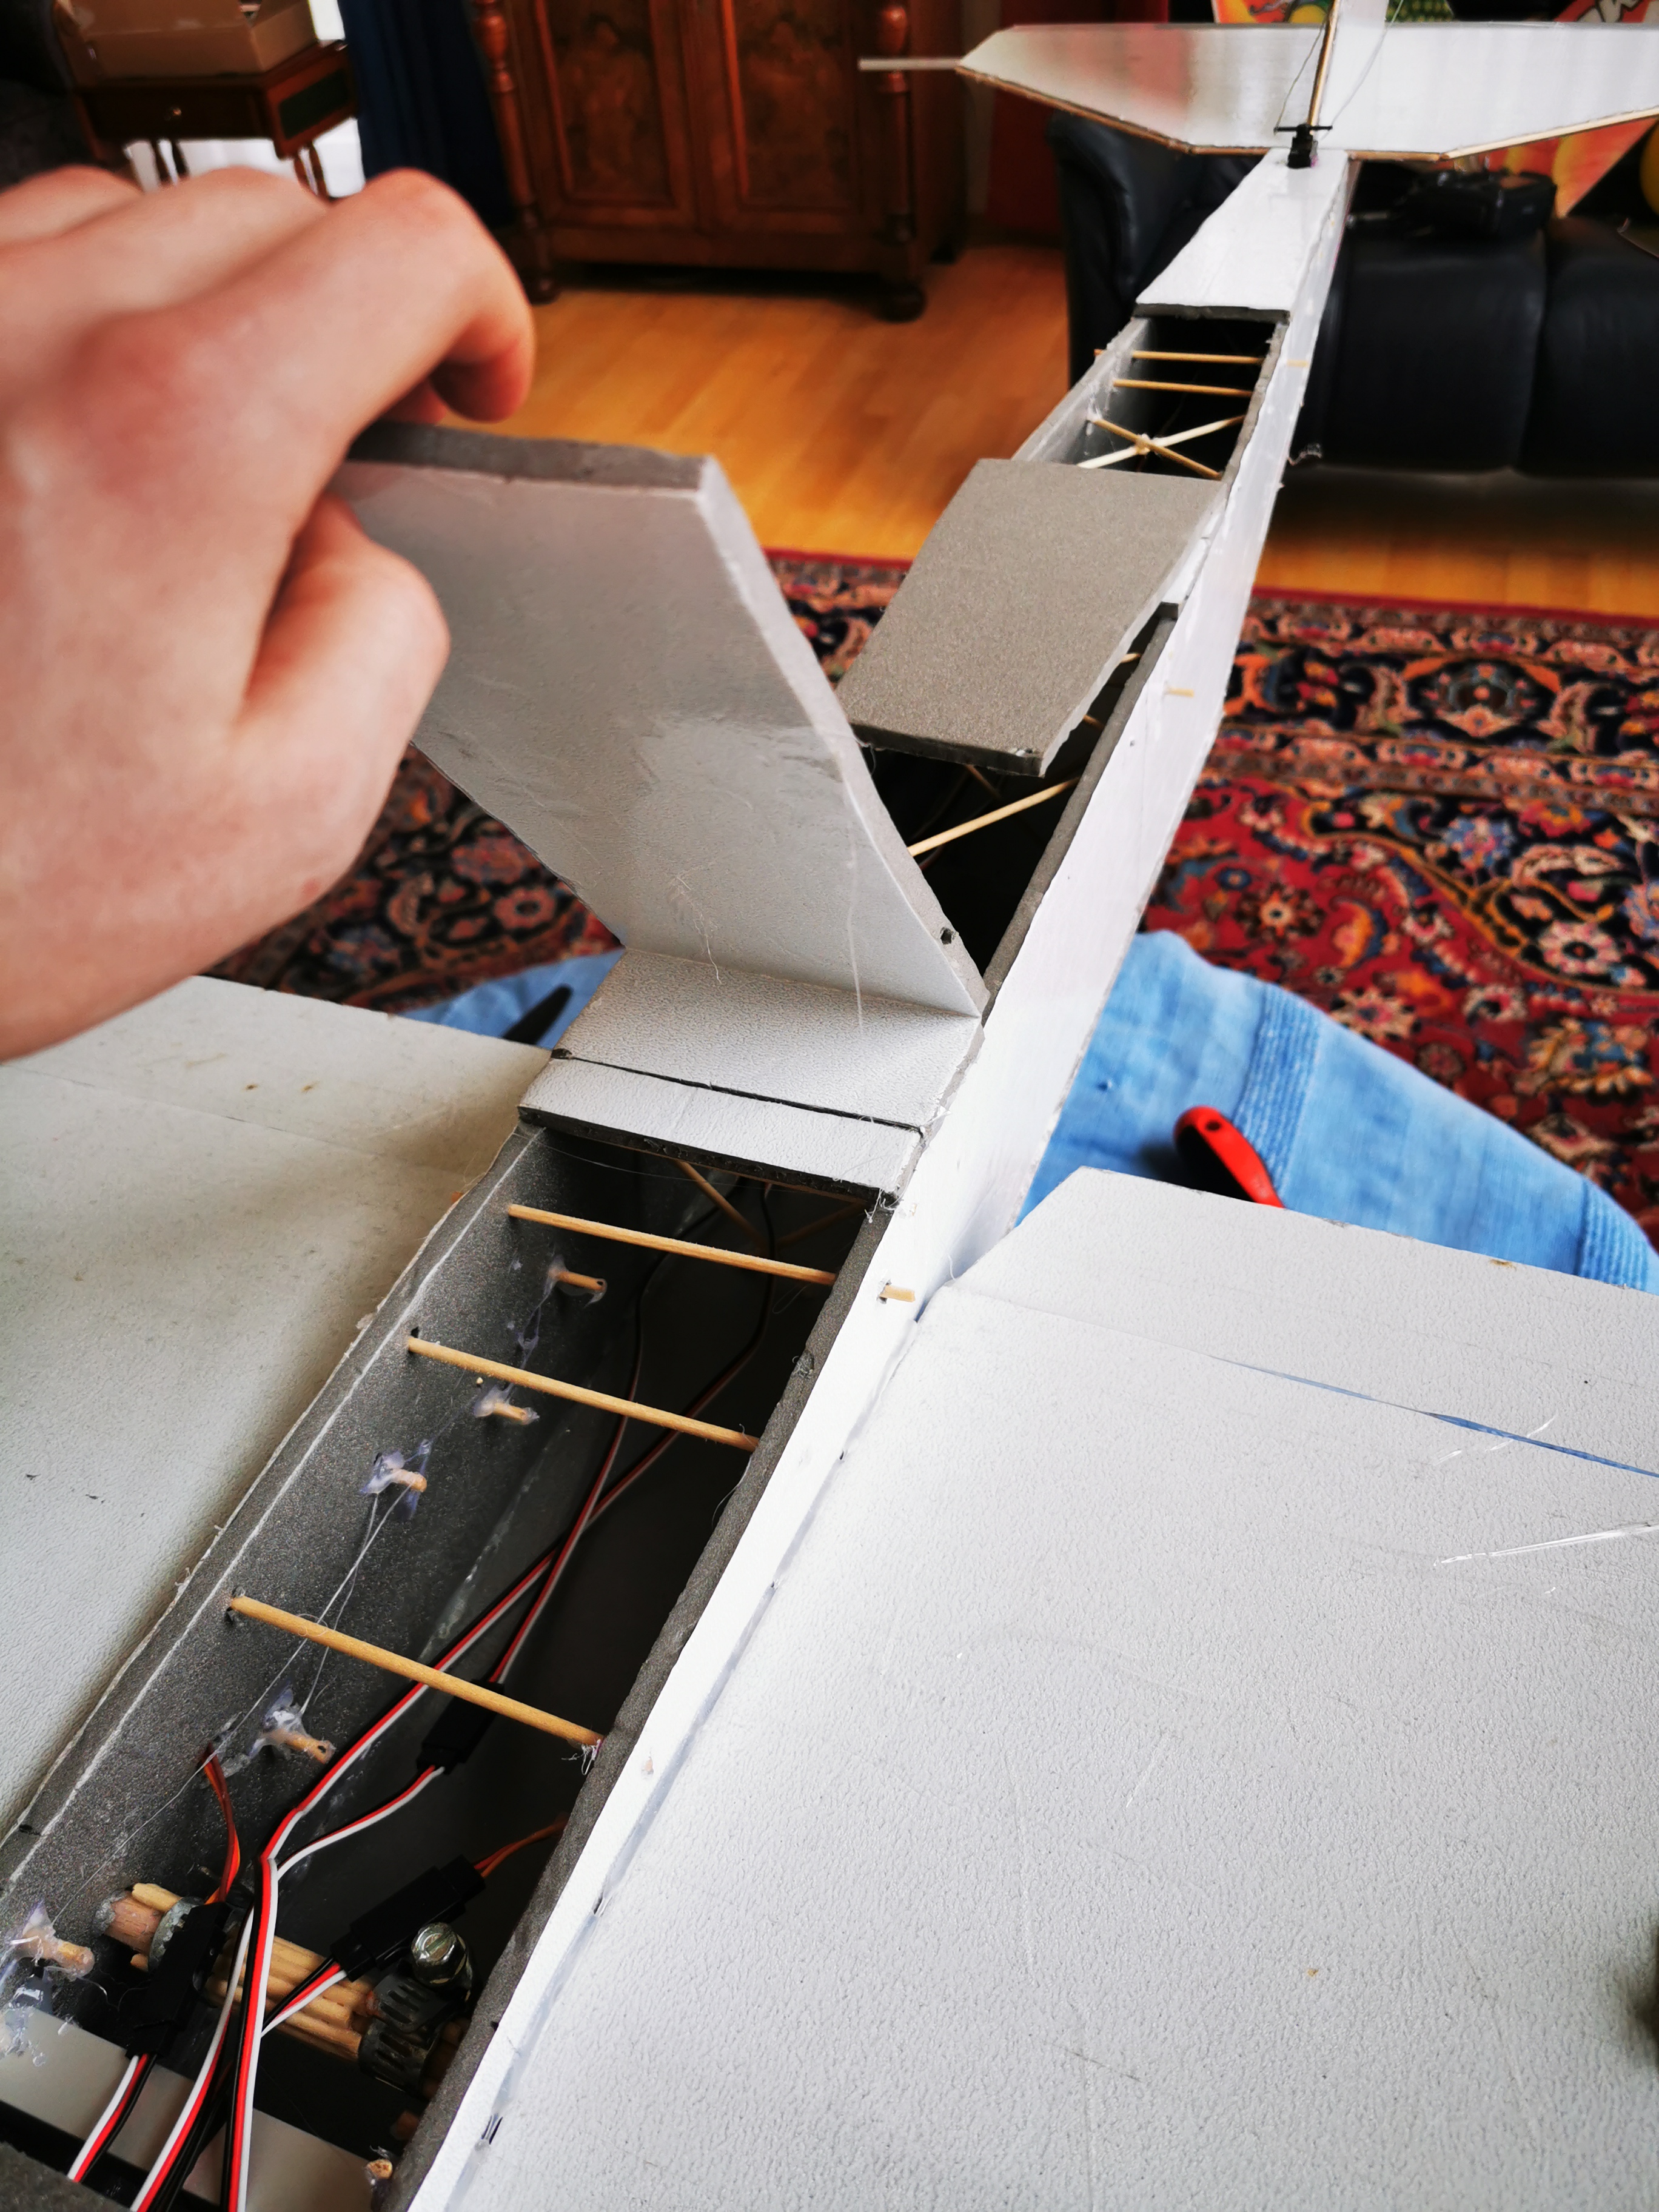
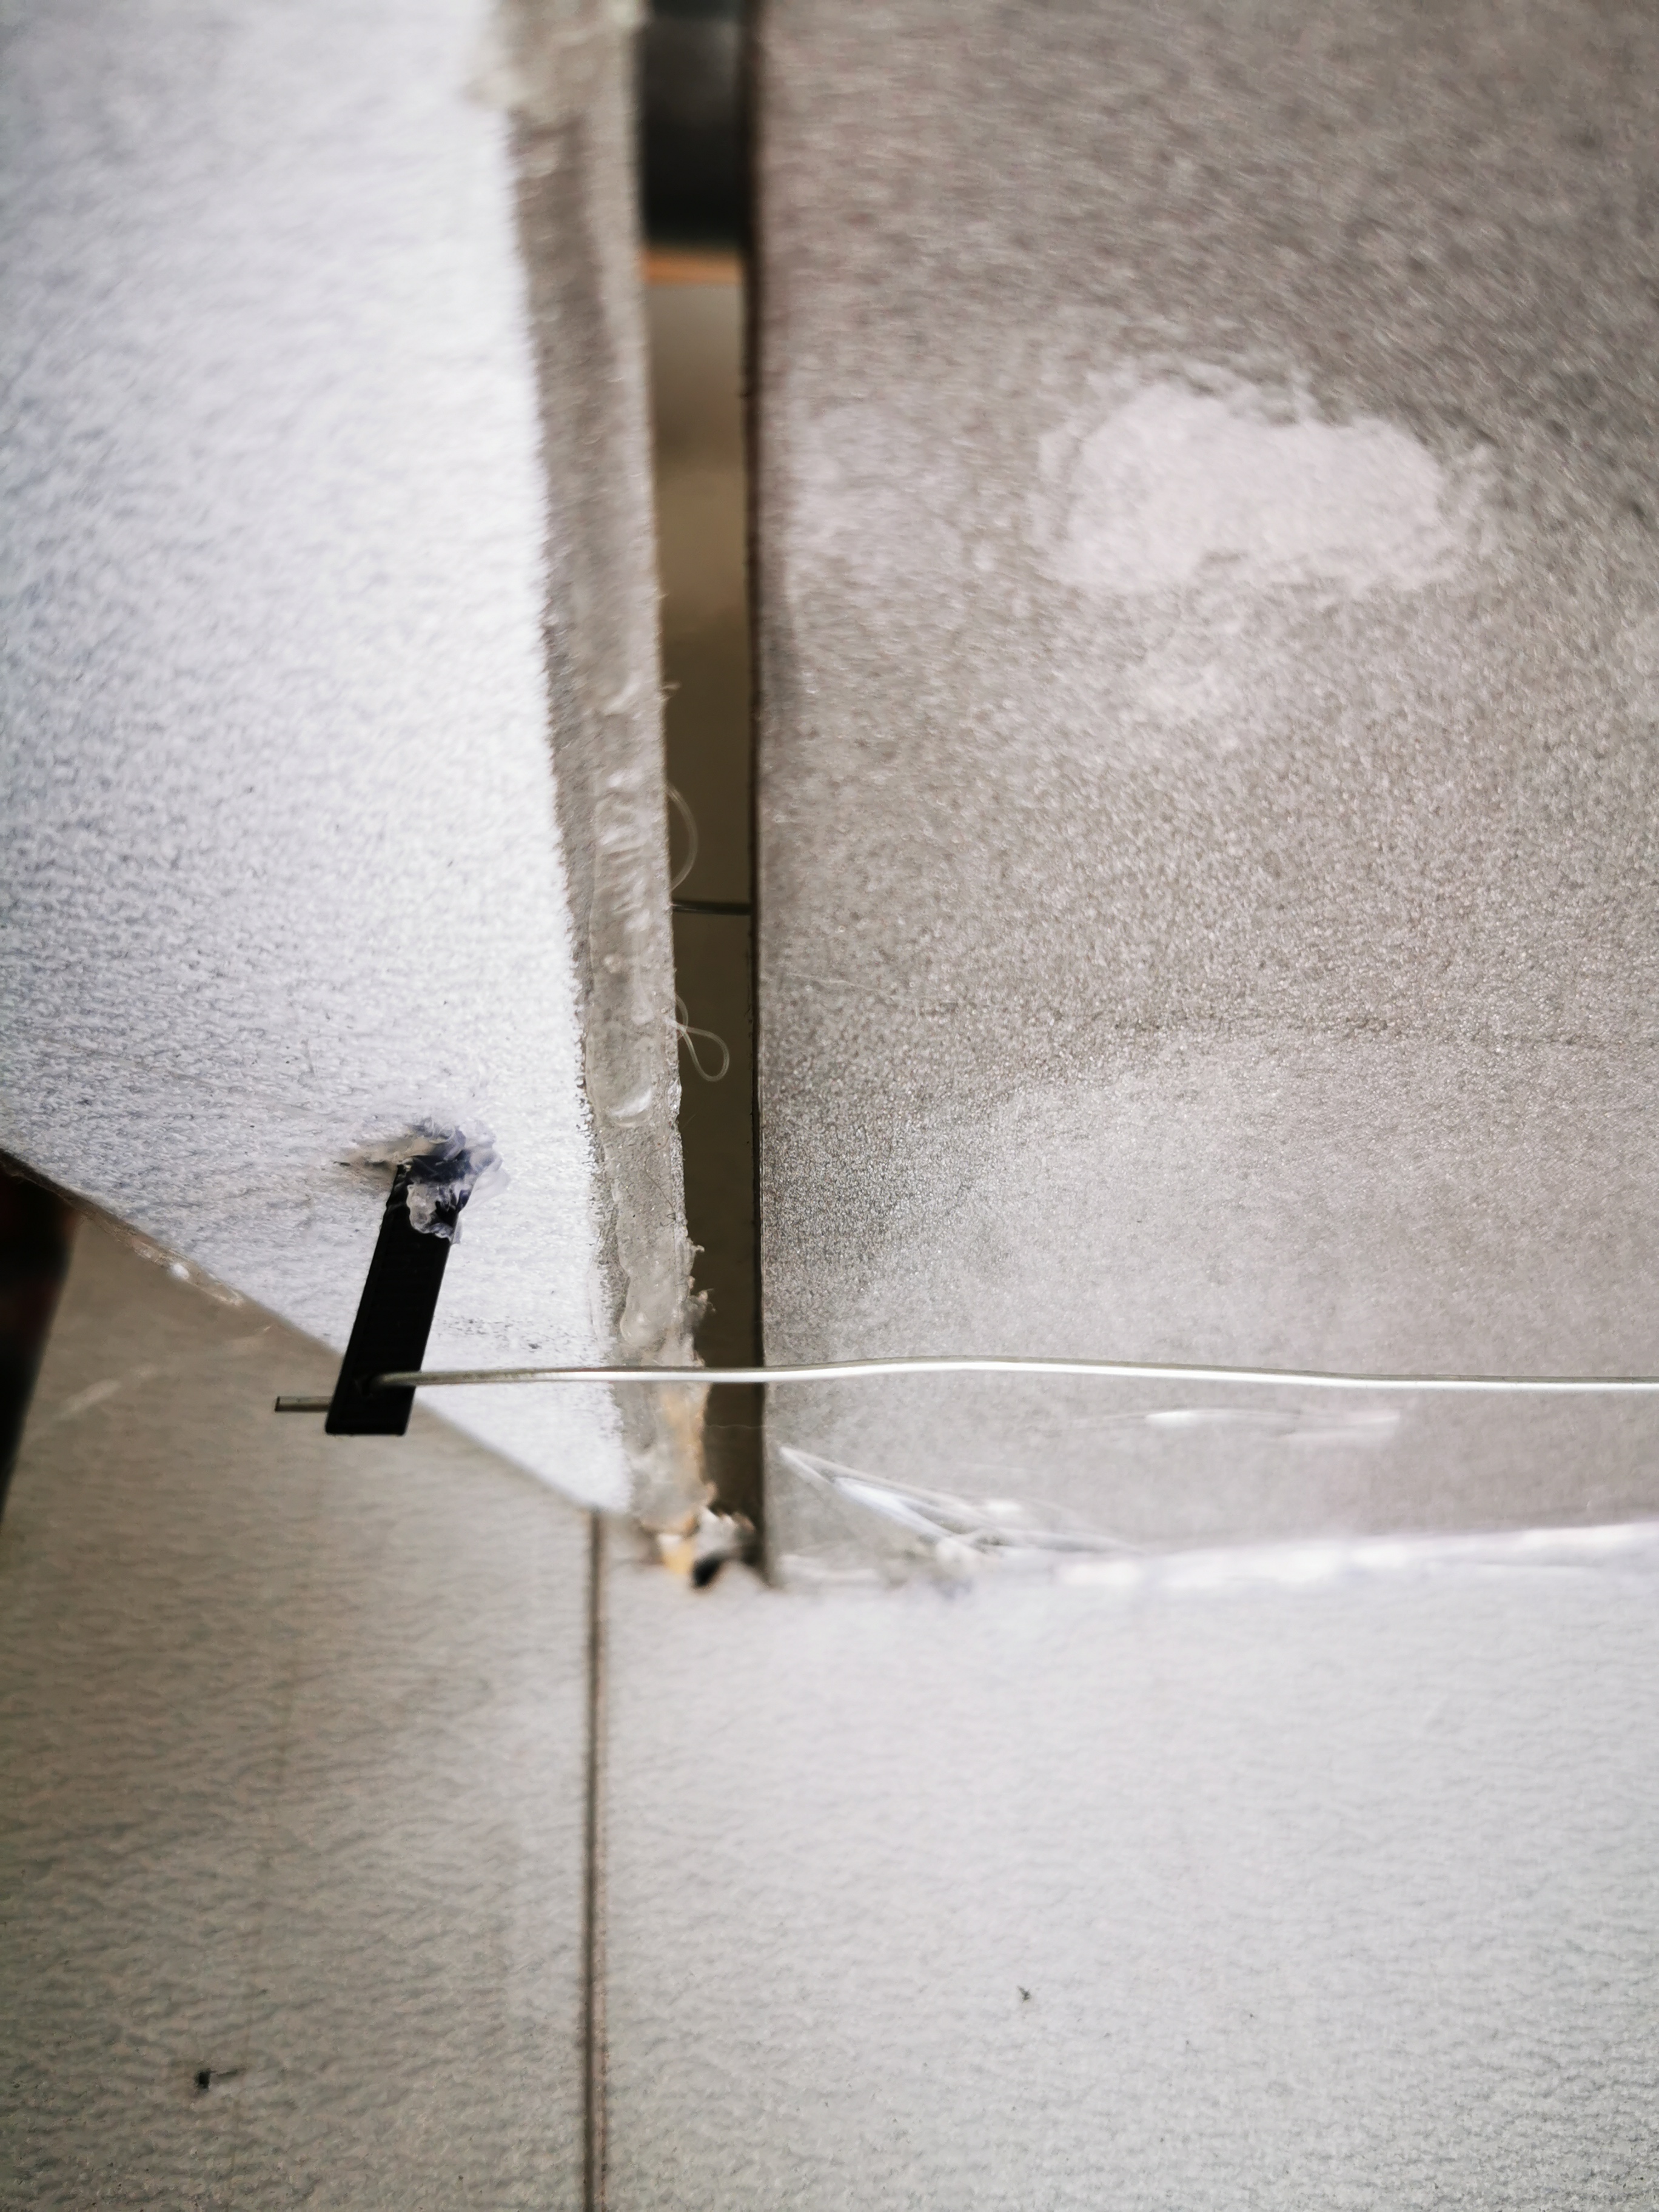
The shape of the wing should be visible in the next picture. I have inserted a 2.5 cm wide XPS strut contrary to the Youtube video.
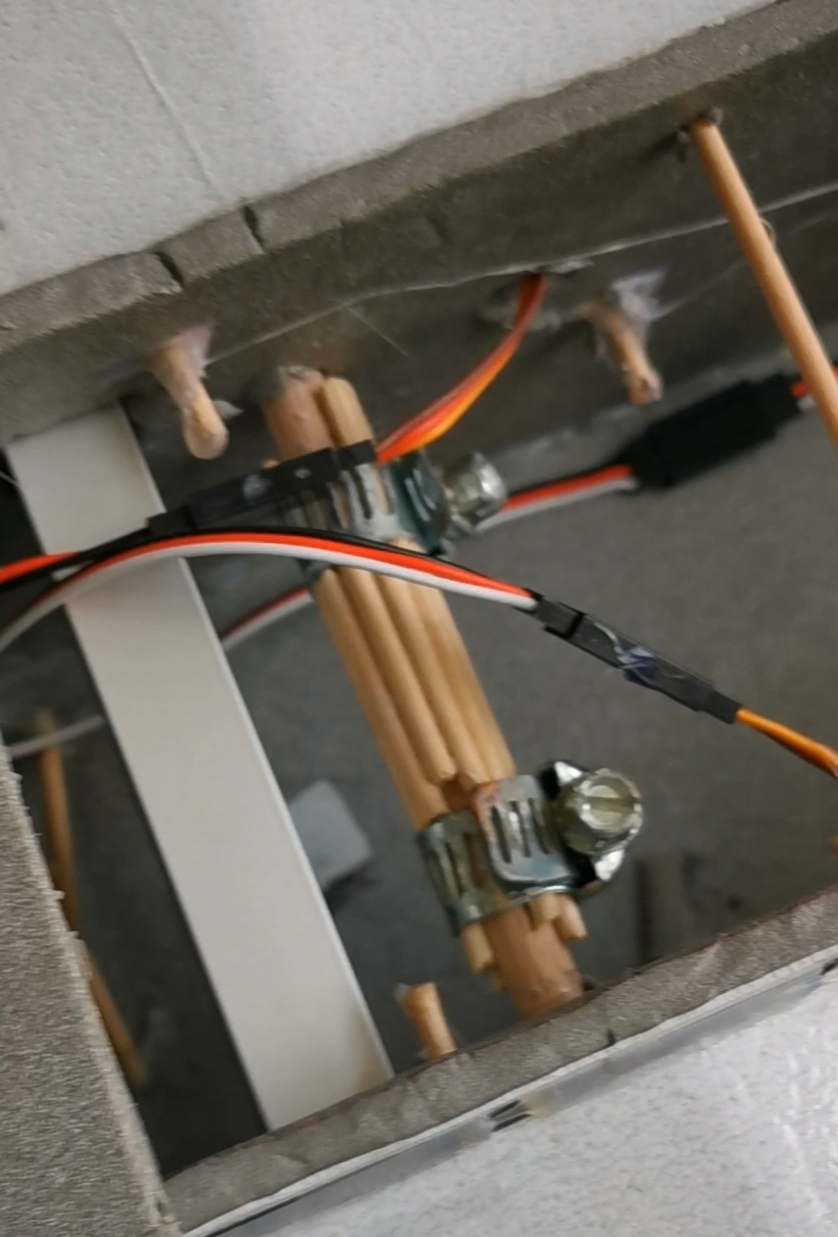
 The connection between the fuselage and the wings was made by an aluminum rod that went almost through the entire length of the wings.
Since the rod does not fill the entire height of the wings, I made holes in the wings from above with a small screwdriver and filled them with plenty of hot glue.
The connection between the fuselage and the wings was made by an aluminum rod that went almost through the entire length of the wings.
Since the rod does not fill the entire height of the wings, I made holes in the wings from above with a small screwdriver and filled them with plenty of hot glue.
Be careful to hit the rod and not fill the wings with hot glue unnecessarily After about 5 holes per wing, the wings were fixed. Another layer of tape smoothed out any unevenness caused by the hot glue.
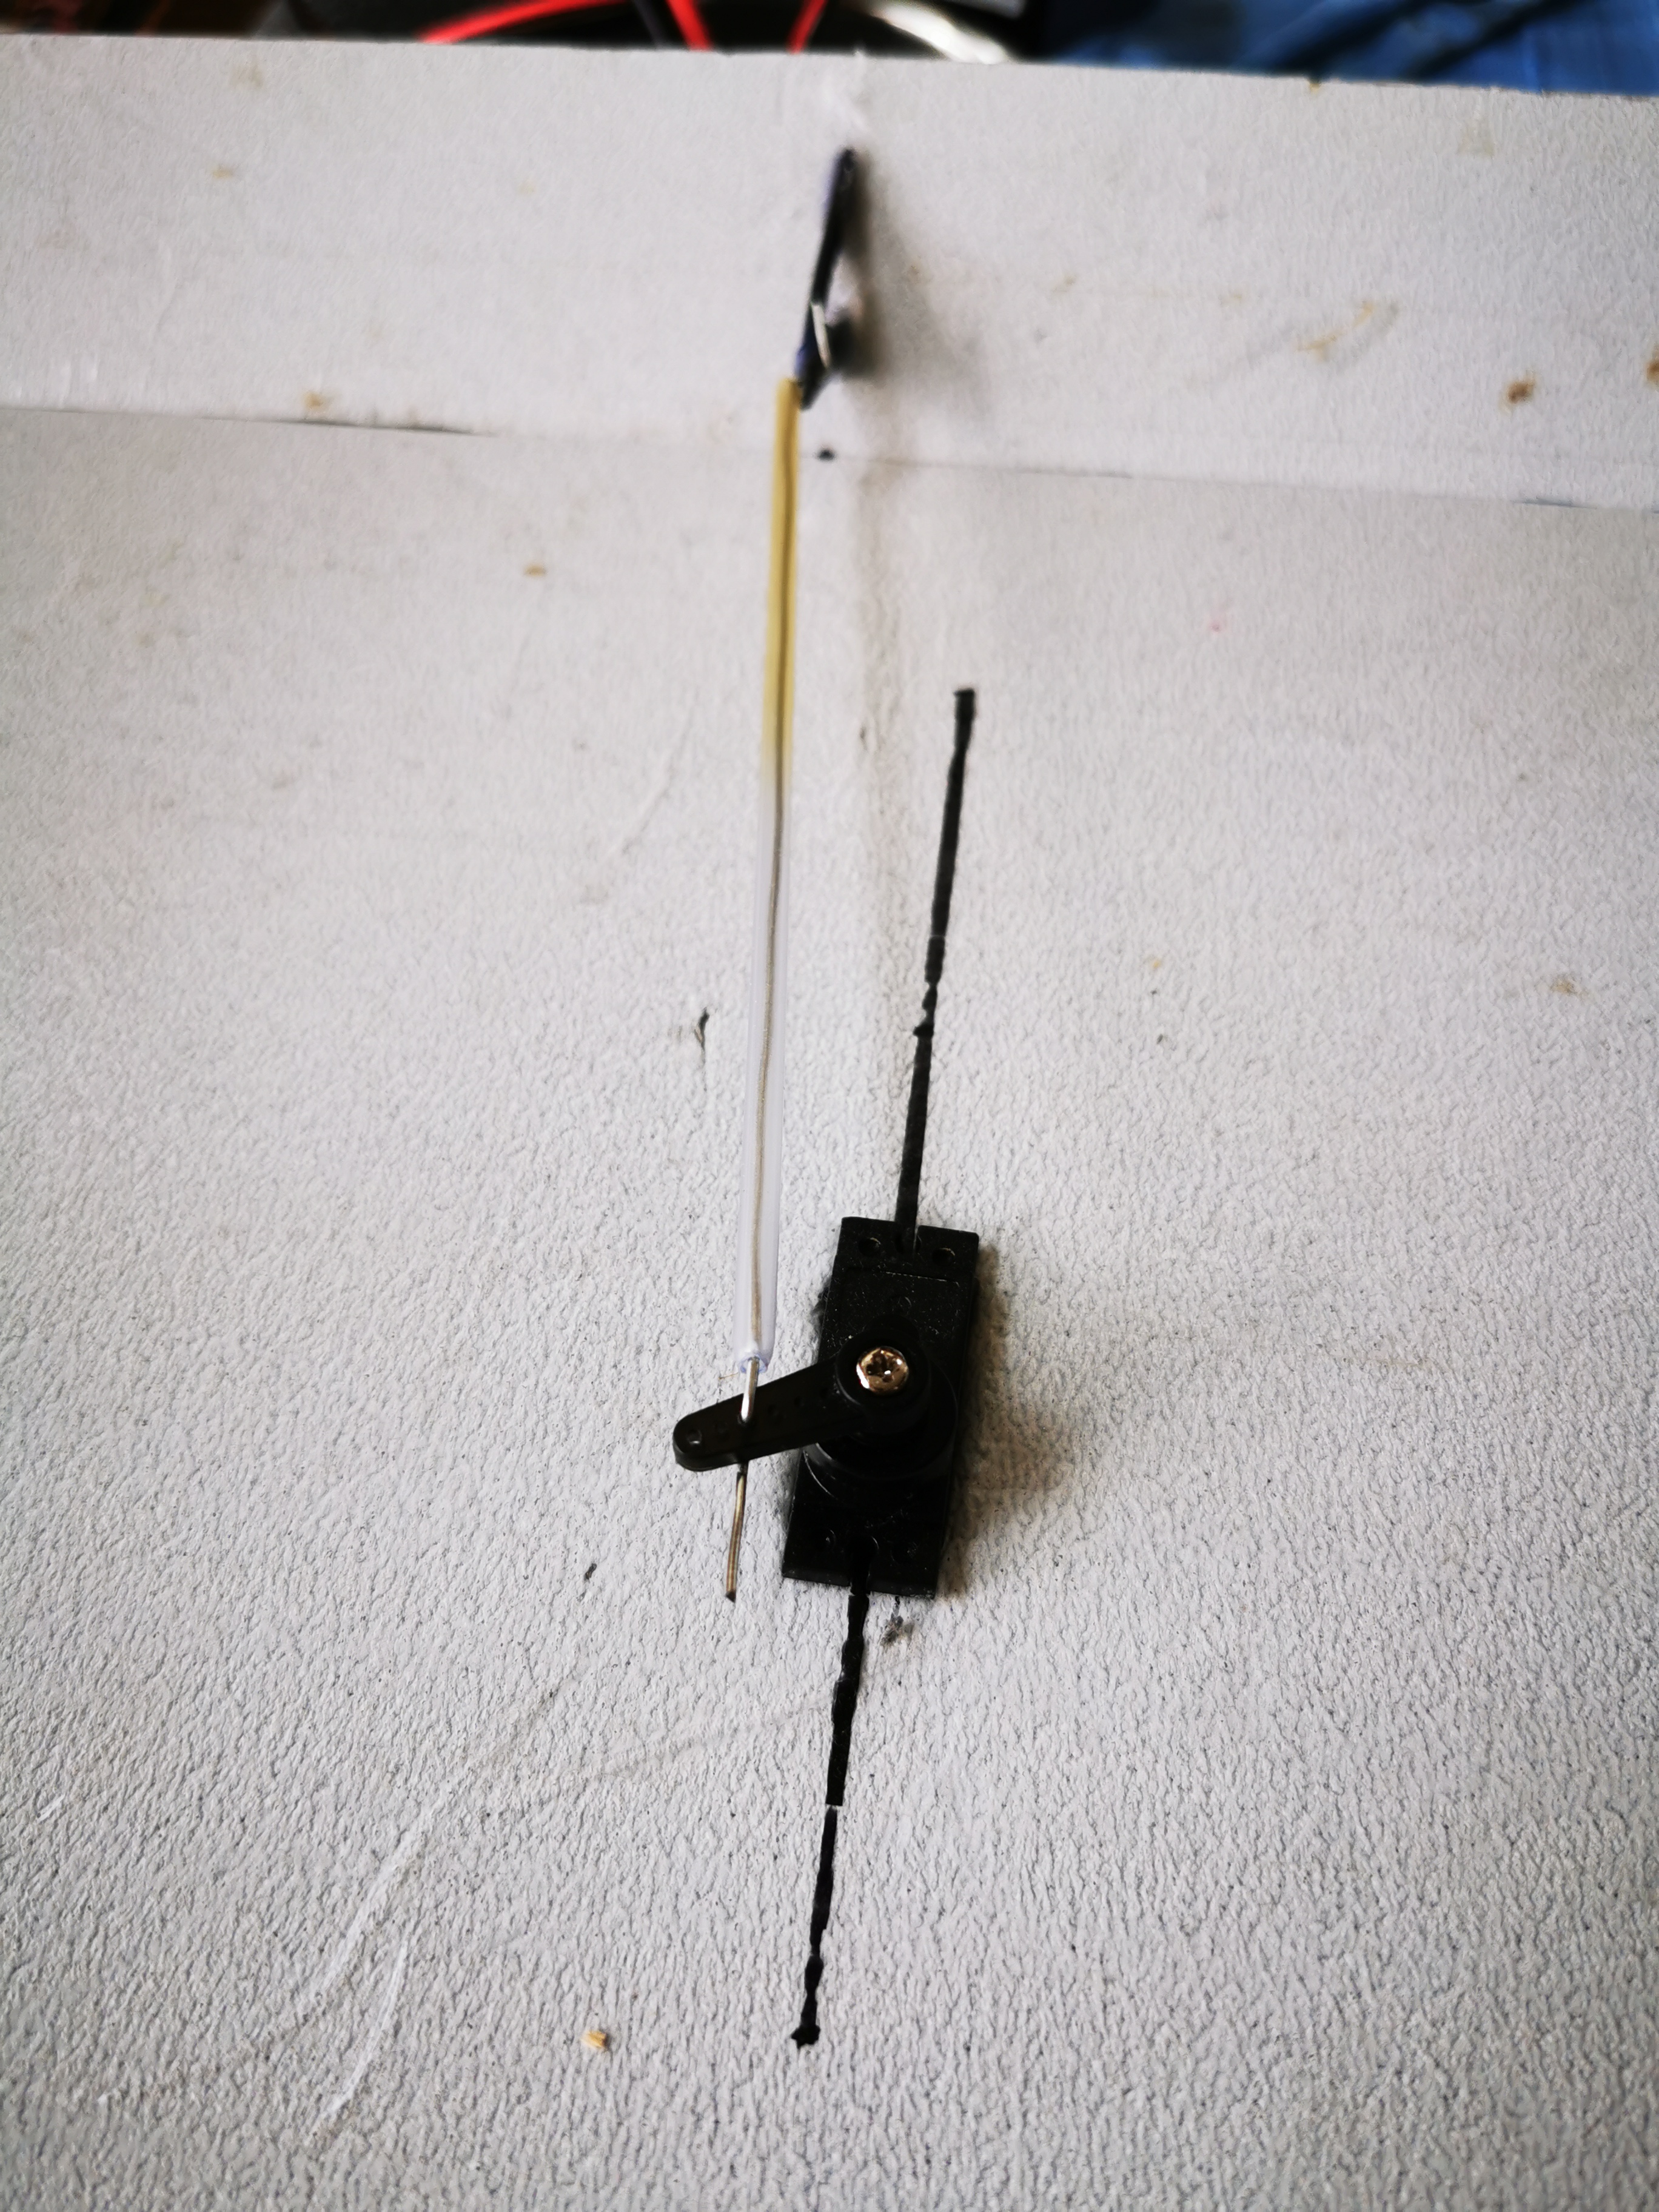
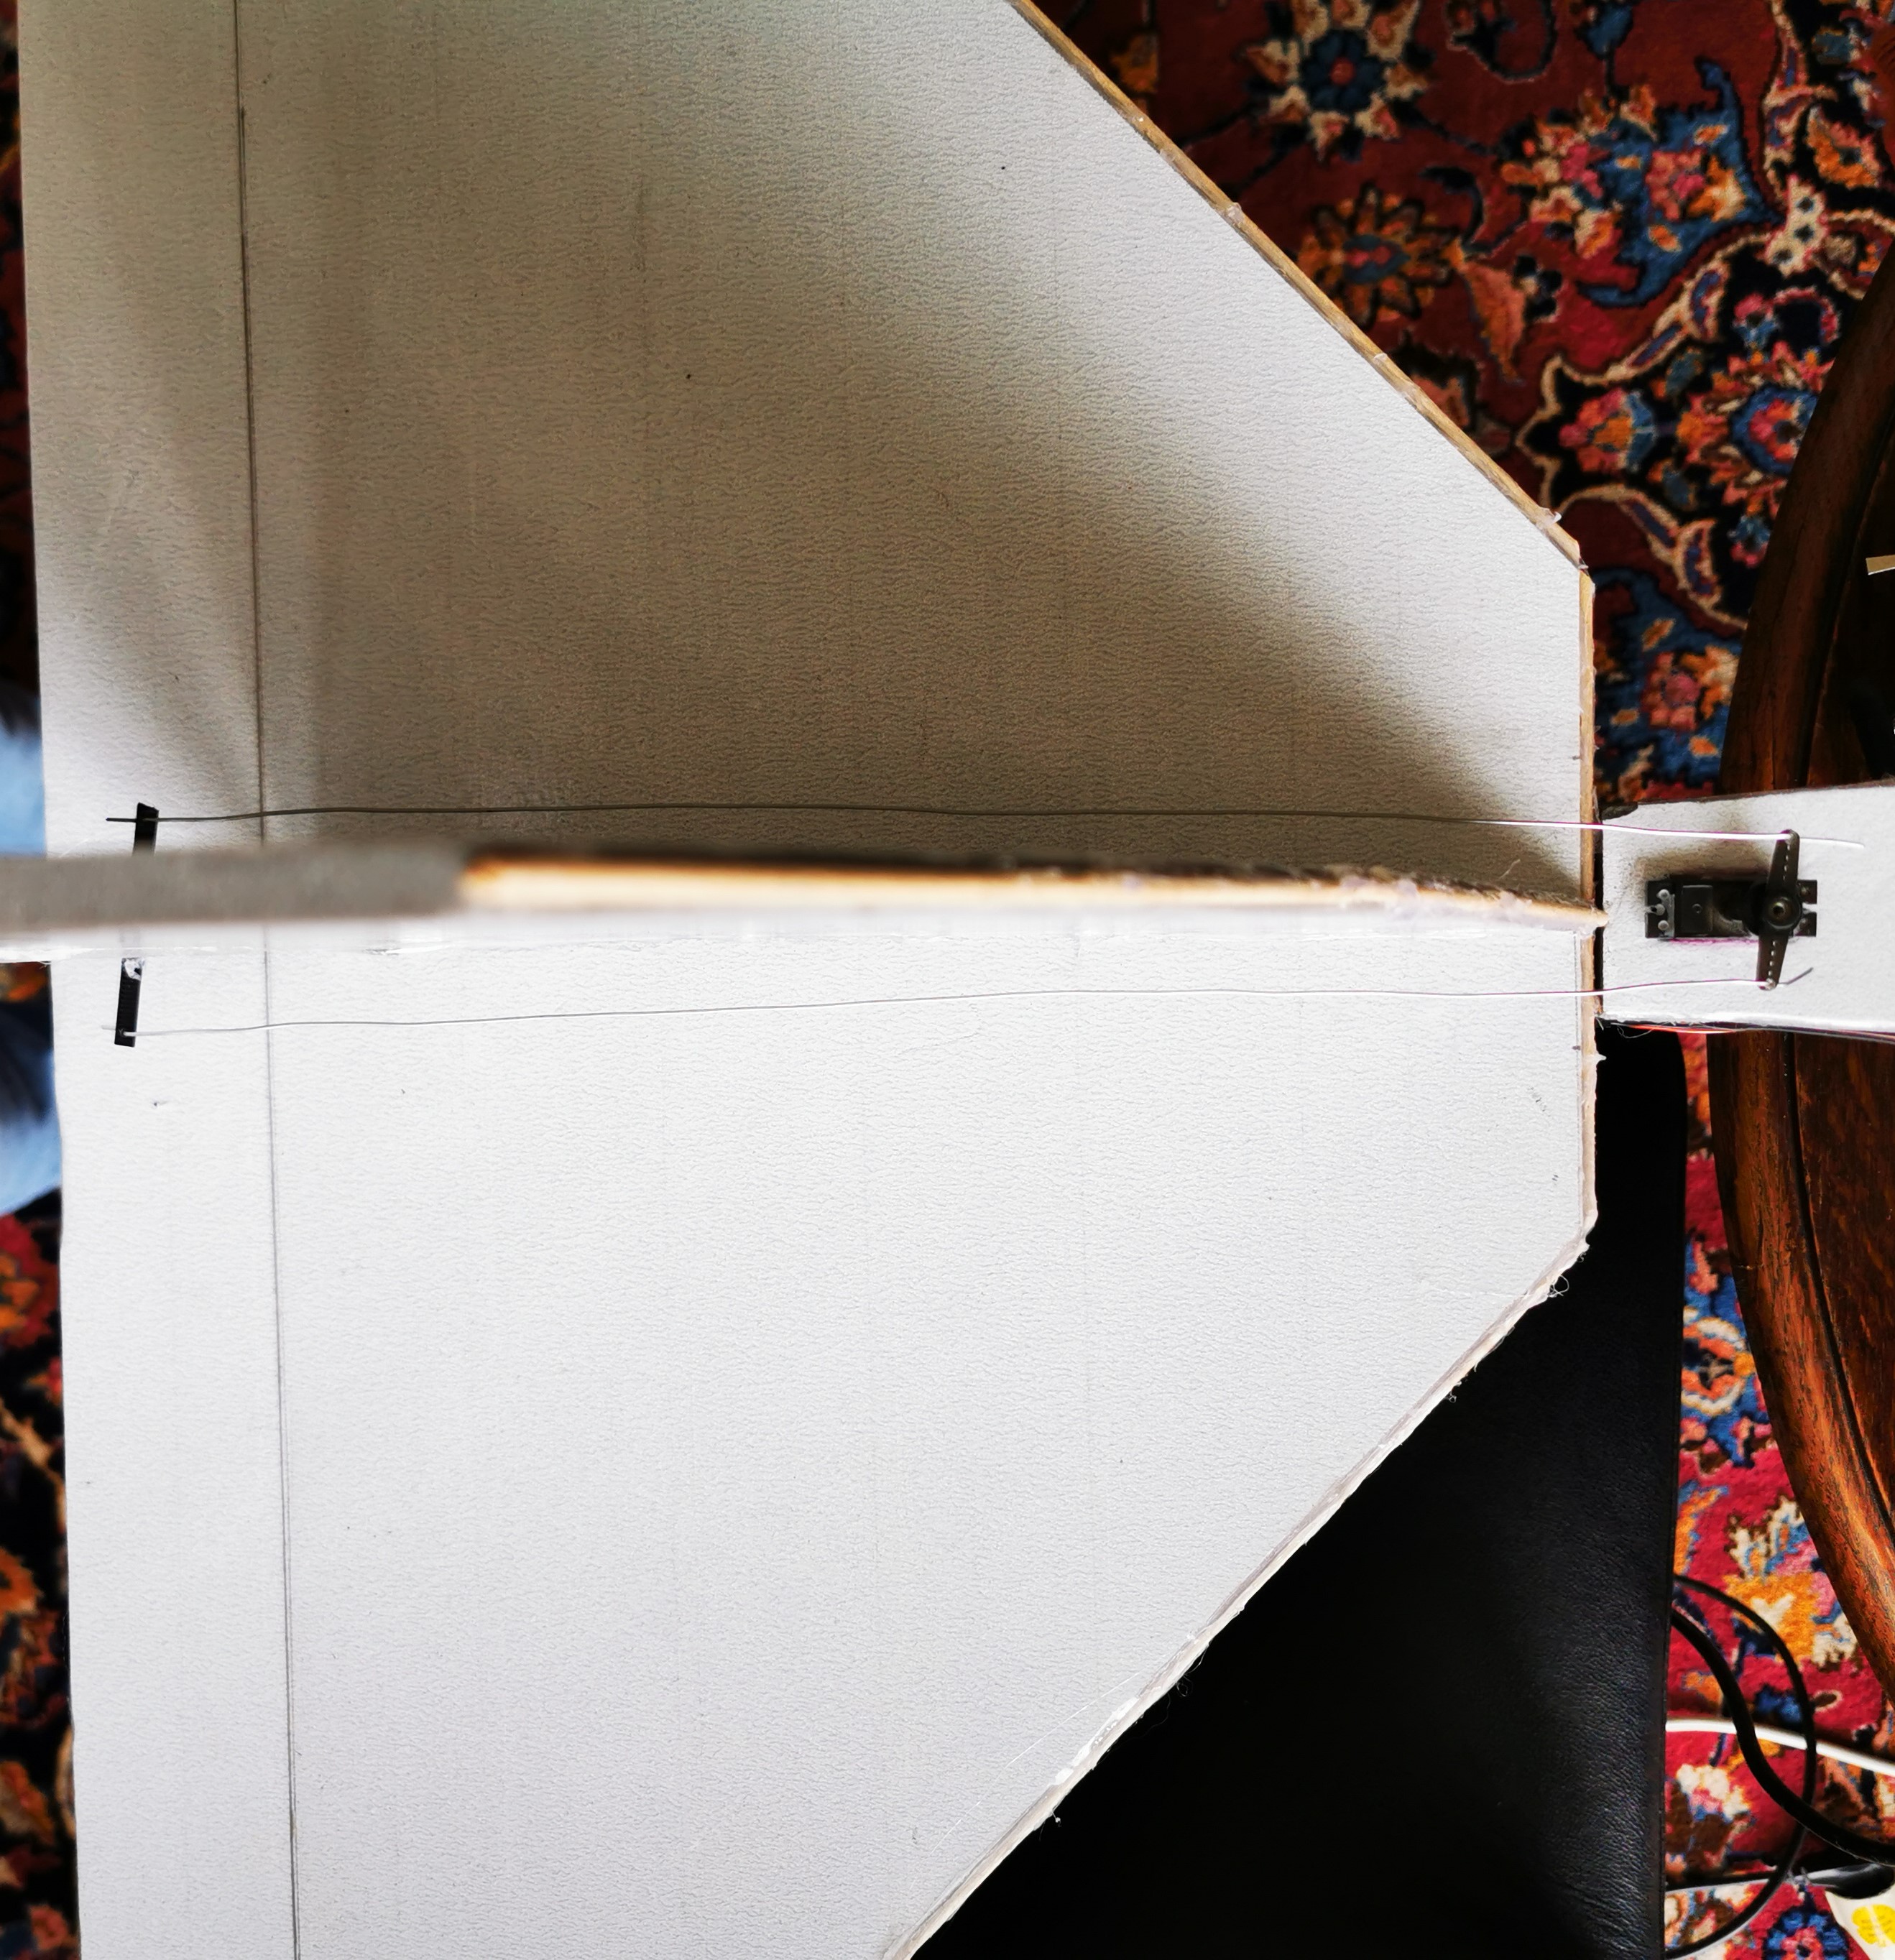
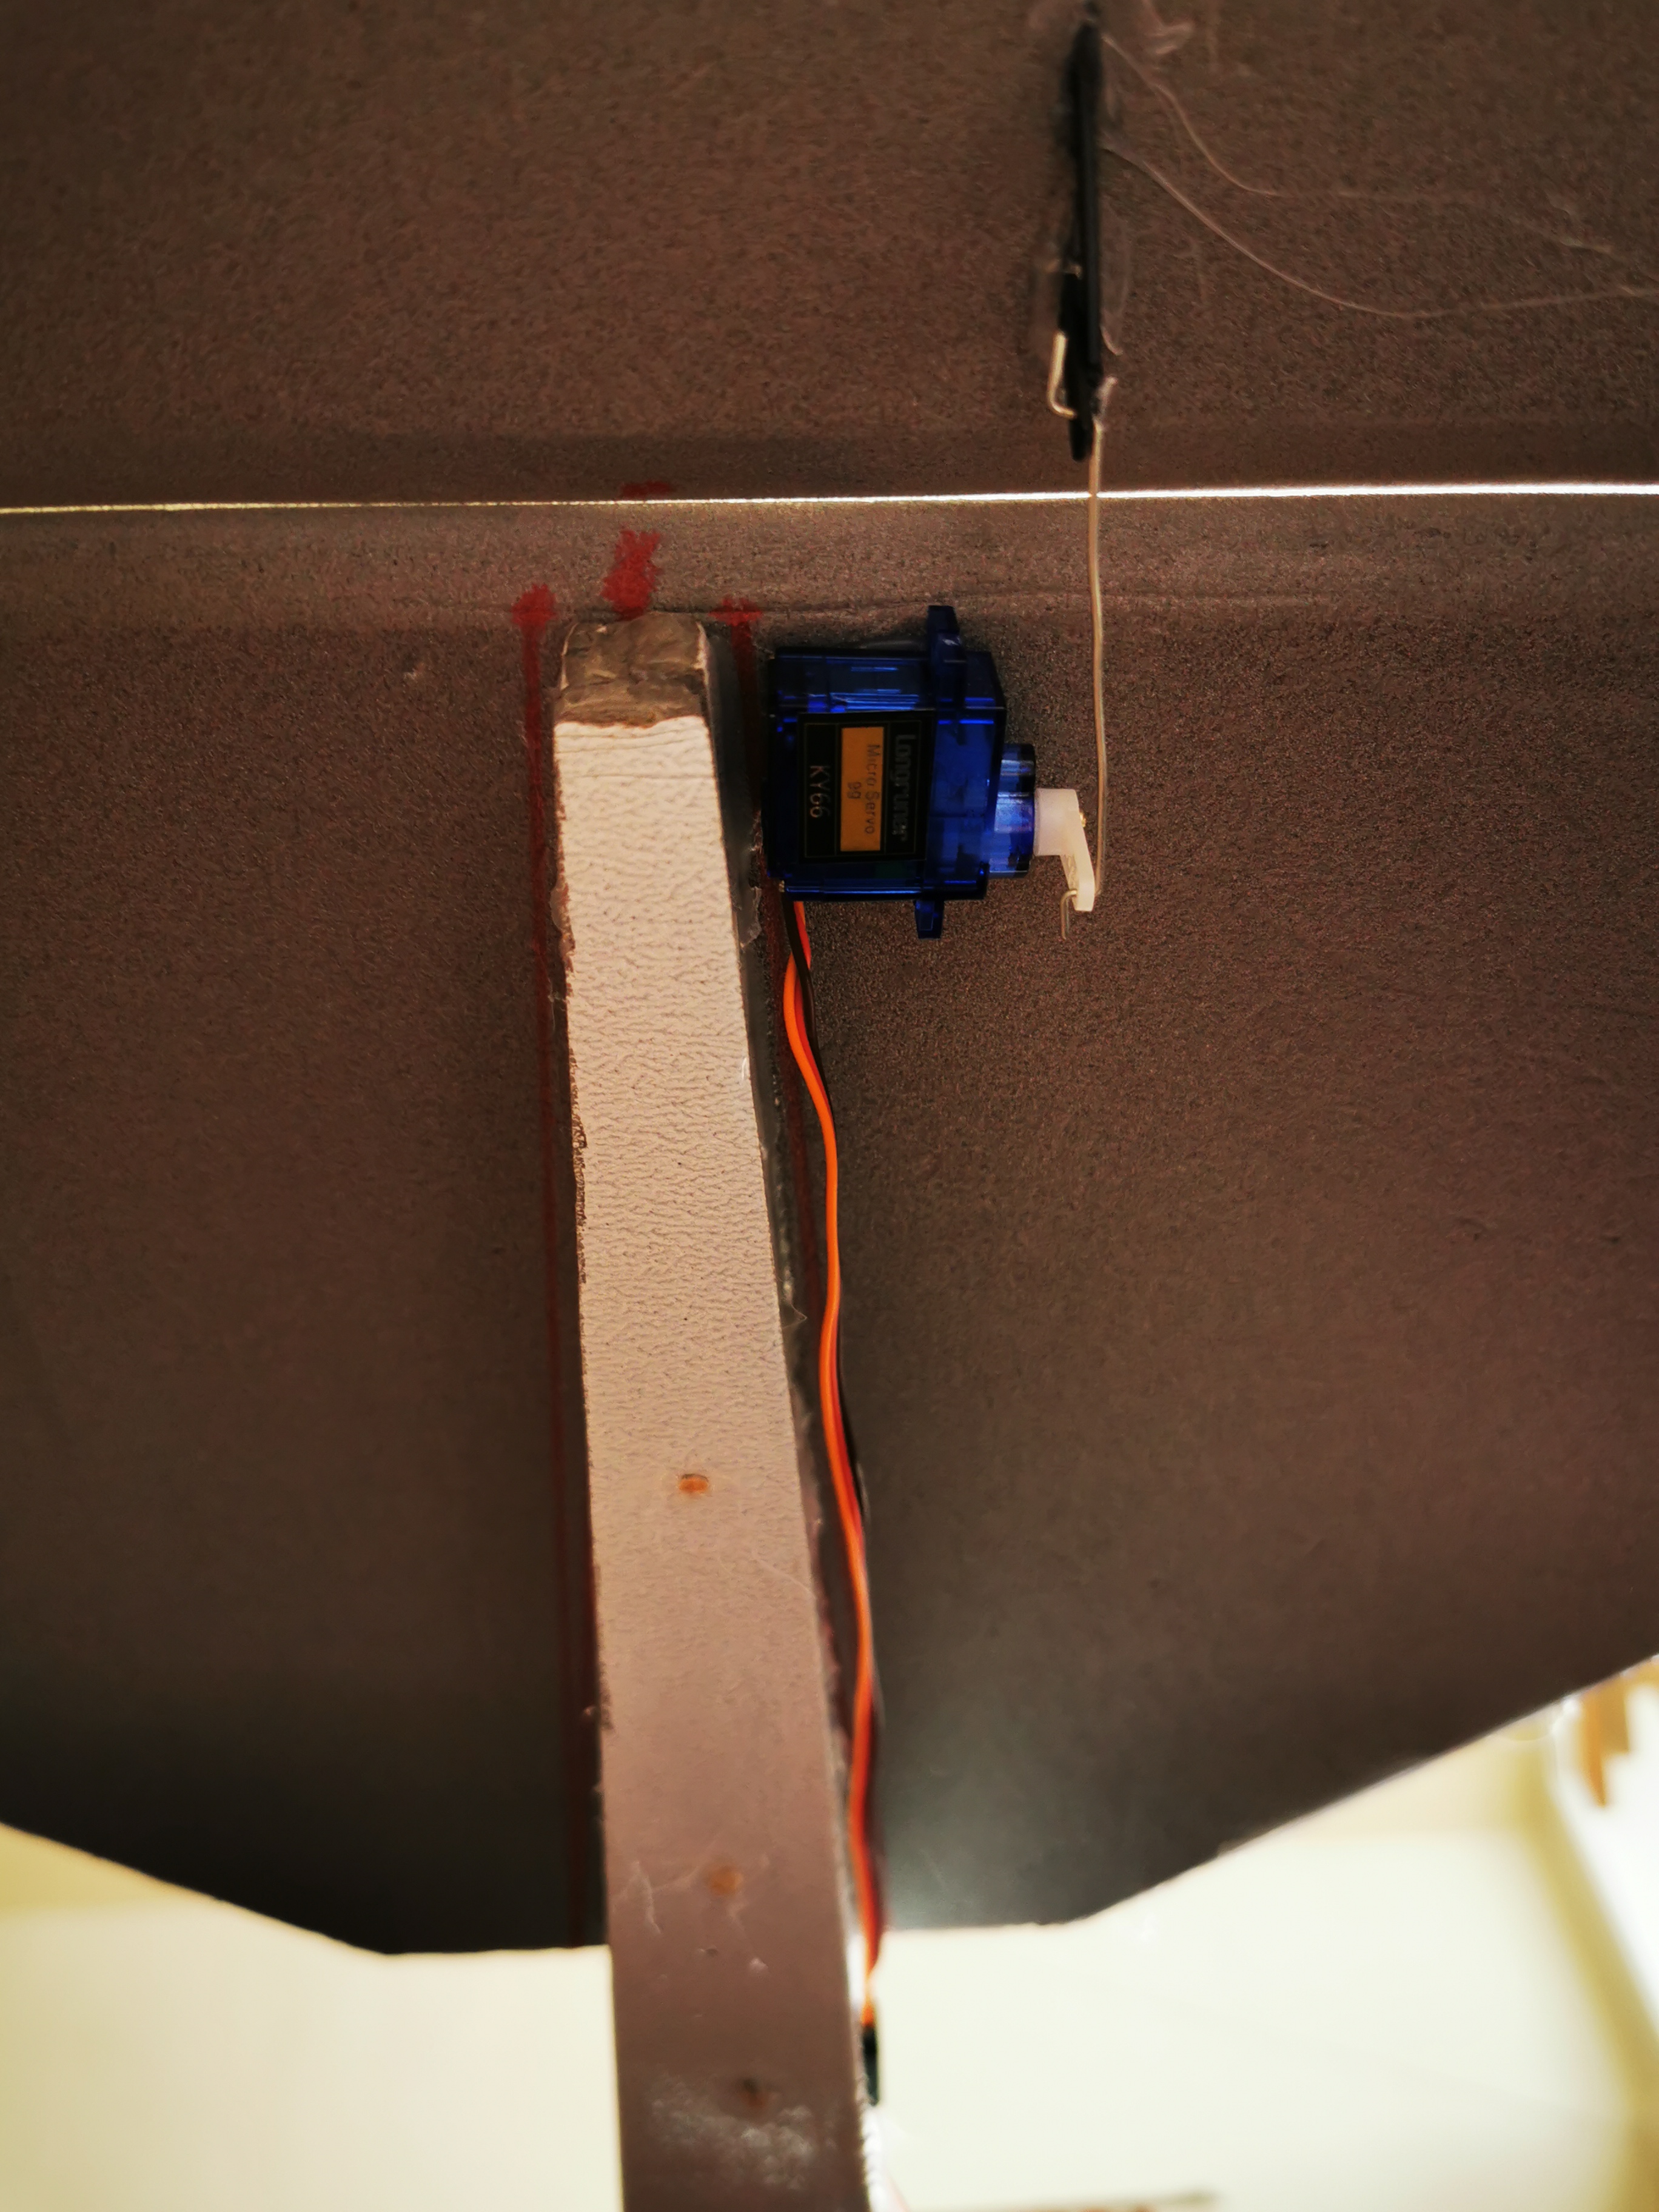
I simply cut the flaps diagonally on one side and taped them in place. To make the rudders moveable by servos, I cut a cable tie in two parts. About 2,5cm and 1,5cm. The longer piece I have provided at the upper end with a small hole for the control wire. I cut the rudder about 20cm from the fuselage in parallel, applied hot glue and glued the two pieces of cable tie in a triangle shape. About 15cm away from the wing I cut a 1x2,5 cm wide hole for the servo. As a connector, I simply took a wire and ran it through a small plastic tube so that force could be applied when the rudder was pushed.
Fuselage#
To build the fuselage, I cut out the three middle elements from XPS. Since my panels were only one meter long, I had to glue two panels together. Wooden skewers and a lot of hot glue ensures the stability of this connecition.
On both sides of the fuselage I cut out a 2 cm square about 50 cm from the nose. This hole should later serve as an attachment for rod that connects the wings to the fuselage. At the first attempt it turns out that wood is not a good choice, because its elasticity is much too high. As soon as the airplane is pulled upward, the wings bend and offer the air a much larger surface.
Instead of a smooth climb, the plane simply bounces up and down as you use the elevator.
A square aluminum rod solves this problem, but also weighs significantly more. In the following picture you can see the new aluminium rod and the old wooden connection. If would start over today i would not use a wooden rod for stabilization.
On the top of the fuselage I decided to add multiple hatches. A lot of hardware still had to be installed: Navio2, RaspberryPi, receiver, Lipo, GPS, charge controller, FPV, etc. I simply cut the plates to fit on top of the fuselage, split them into one small and one larger part and taped them back together. The smaller part was then glued to the fuselage. I used rubber bands and wooden sticks for fastening the flaps.
Tail#
I built the tail unit from two plates. One in the shape of a trapezoid and one in a triangle with the tip cut off.
The elevator works in the same way as the rudder.
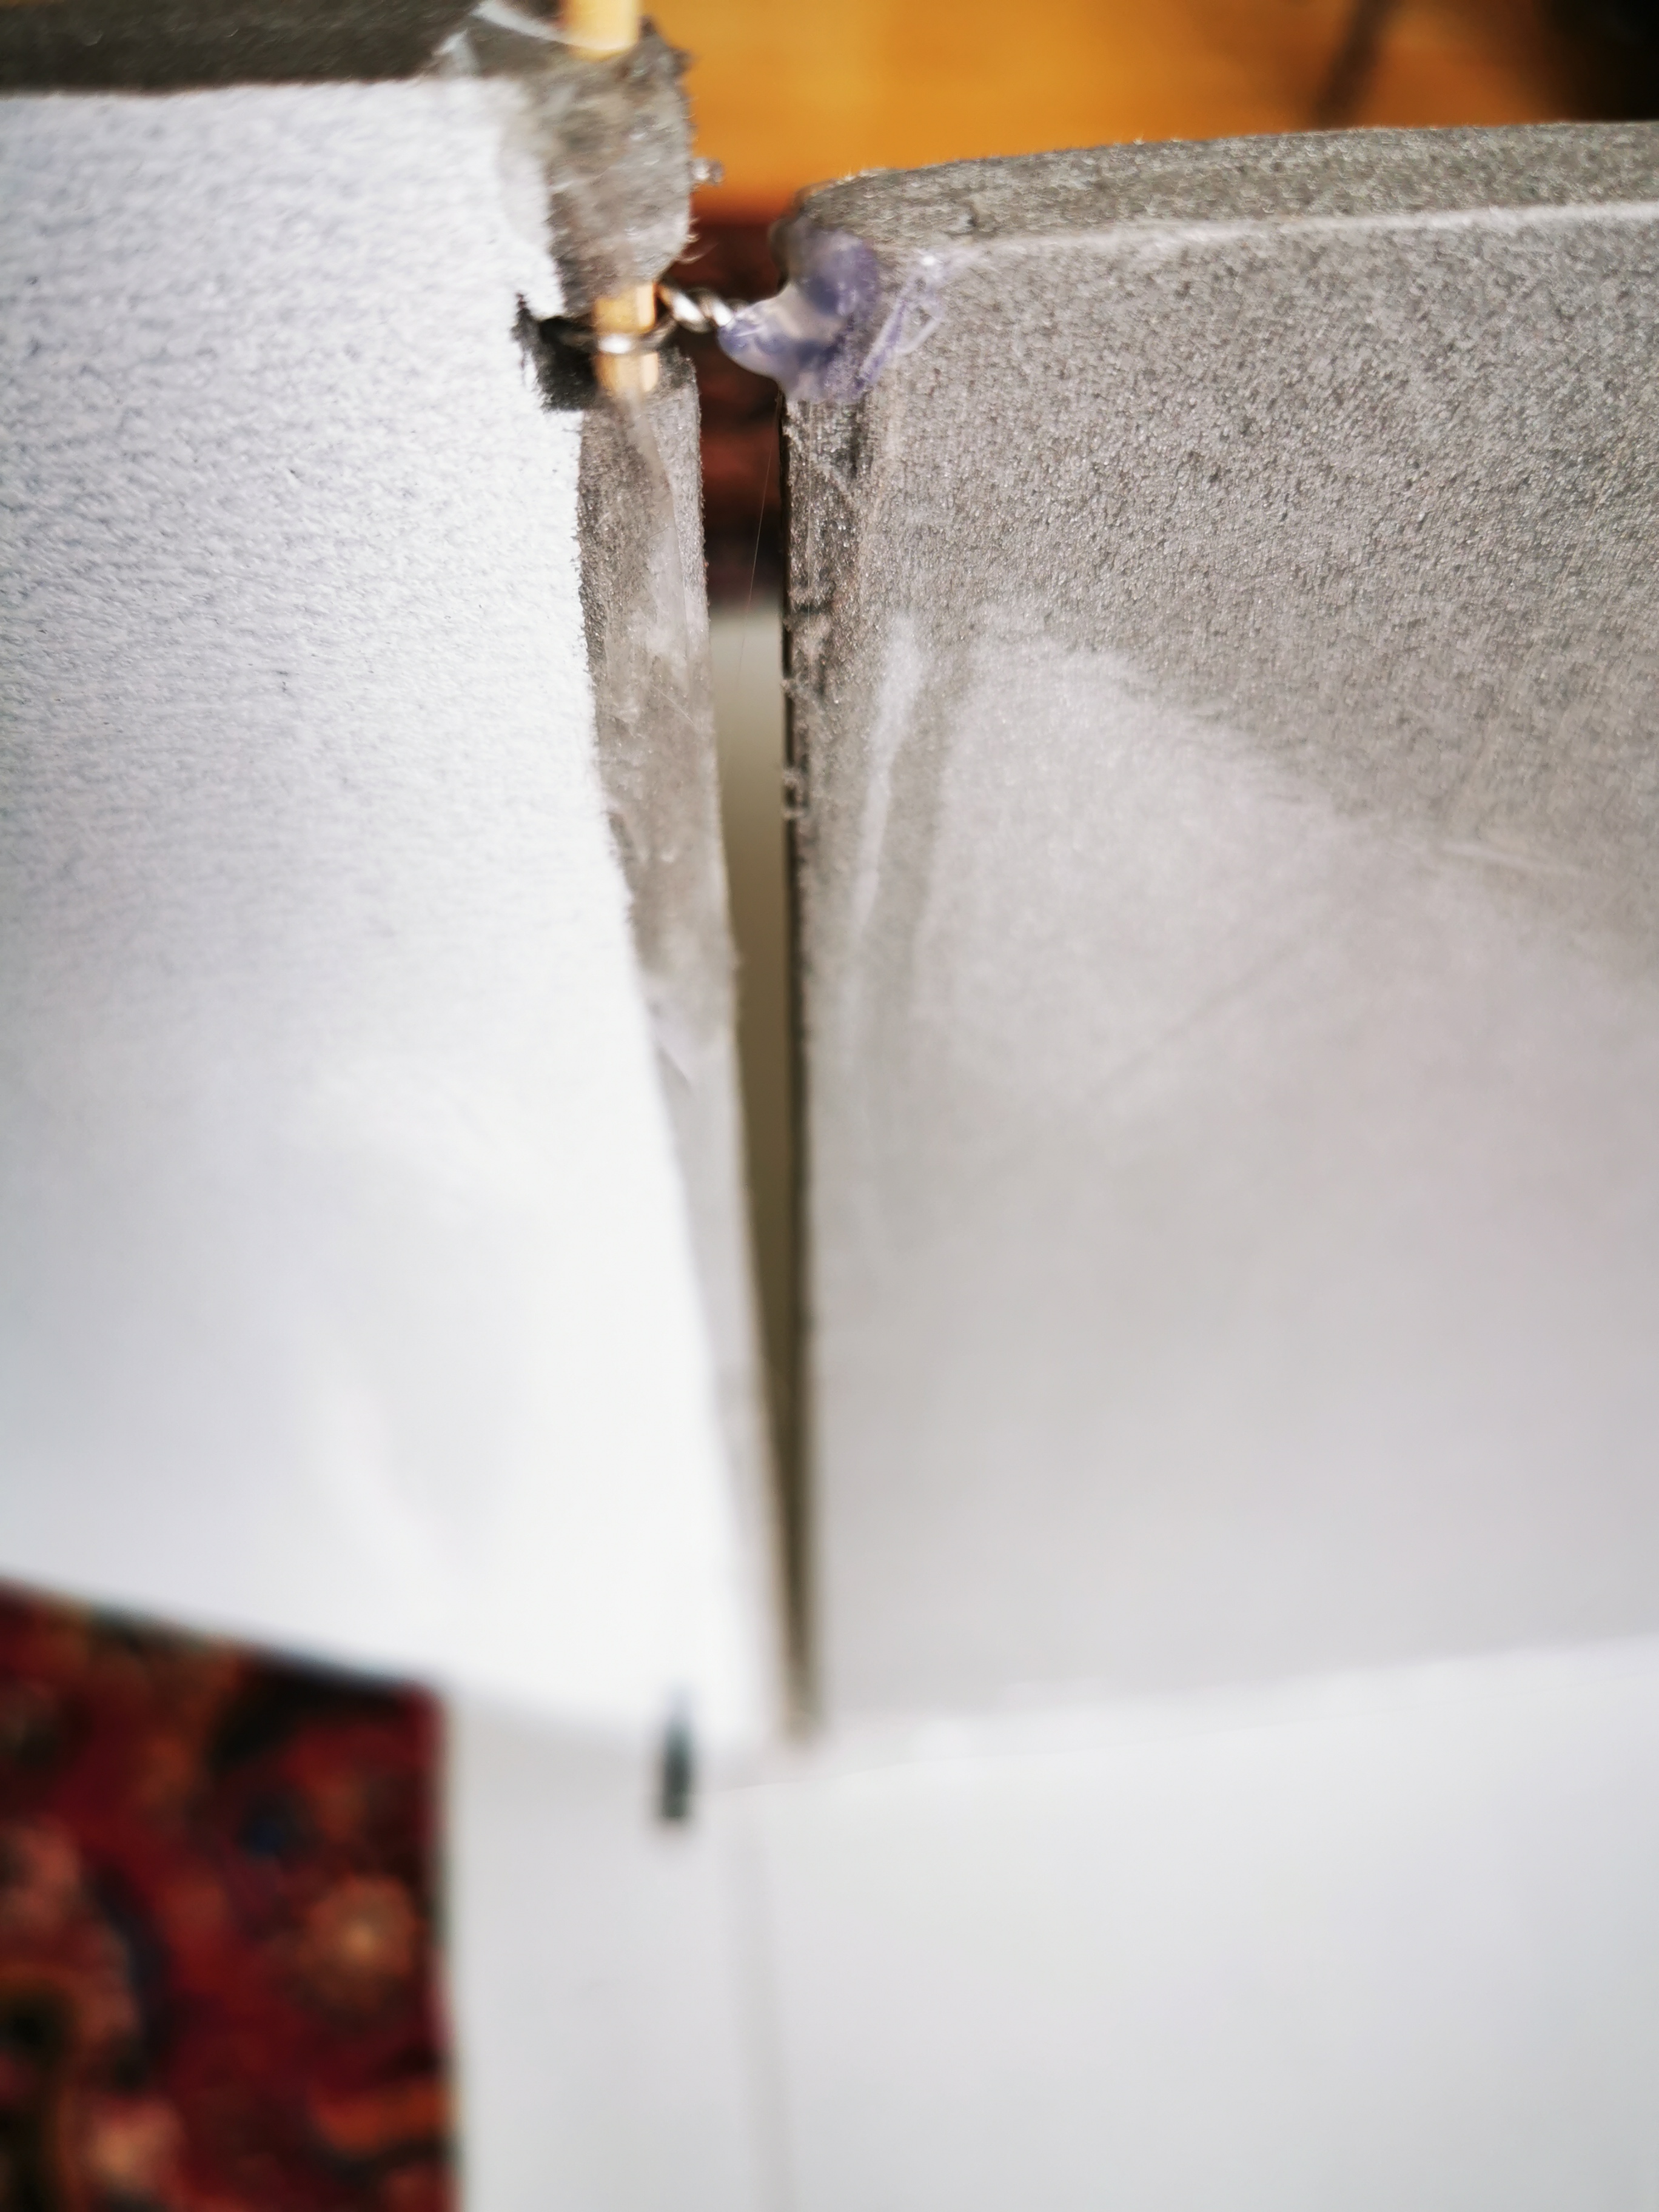
The yaw I constructed with a wooden stick and loops of wire, so that I have a symmetrical construction.
I rounded off the edges that point in the direction of flight with a wooden stick and hot glue.
Design principles and best practices#
I kept using a few techniques during the build that are actually very simple, but proved to be very efficient.
Hot glue and wooden sticks as stabilizers#
As soon as the XPS panels are glued to the fuselage, for example, they already provide a high degree of stability. Transverse forces are compensated well due to the right-angled gluing of the panels. However, torsion is very poorly compensated. I formed an X out of the wooden rods and pierced them through the outer skin. With hot glue, both as a connection between the wood and the XPS, as well as the two rods themselves, the stability can be significantly increased.
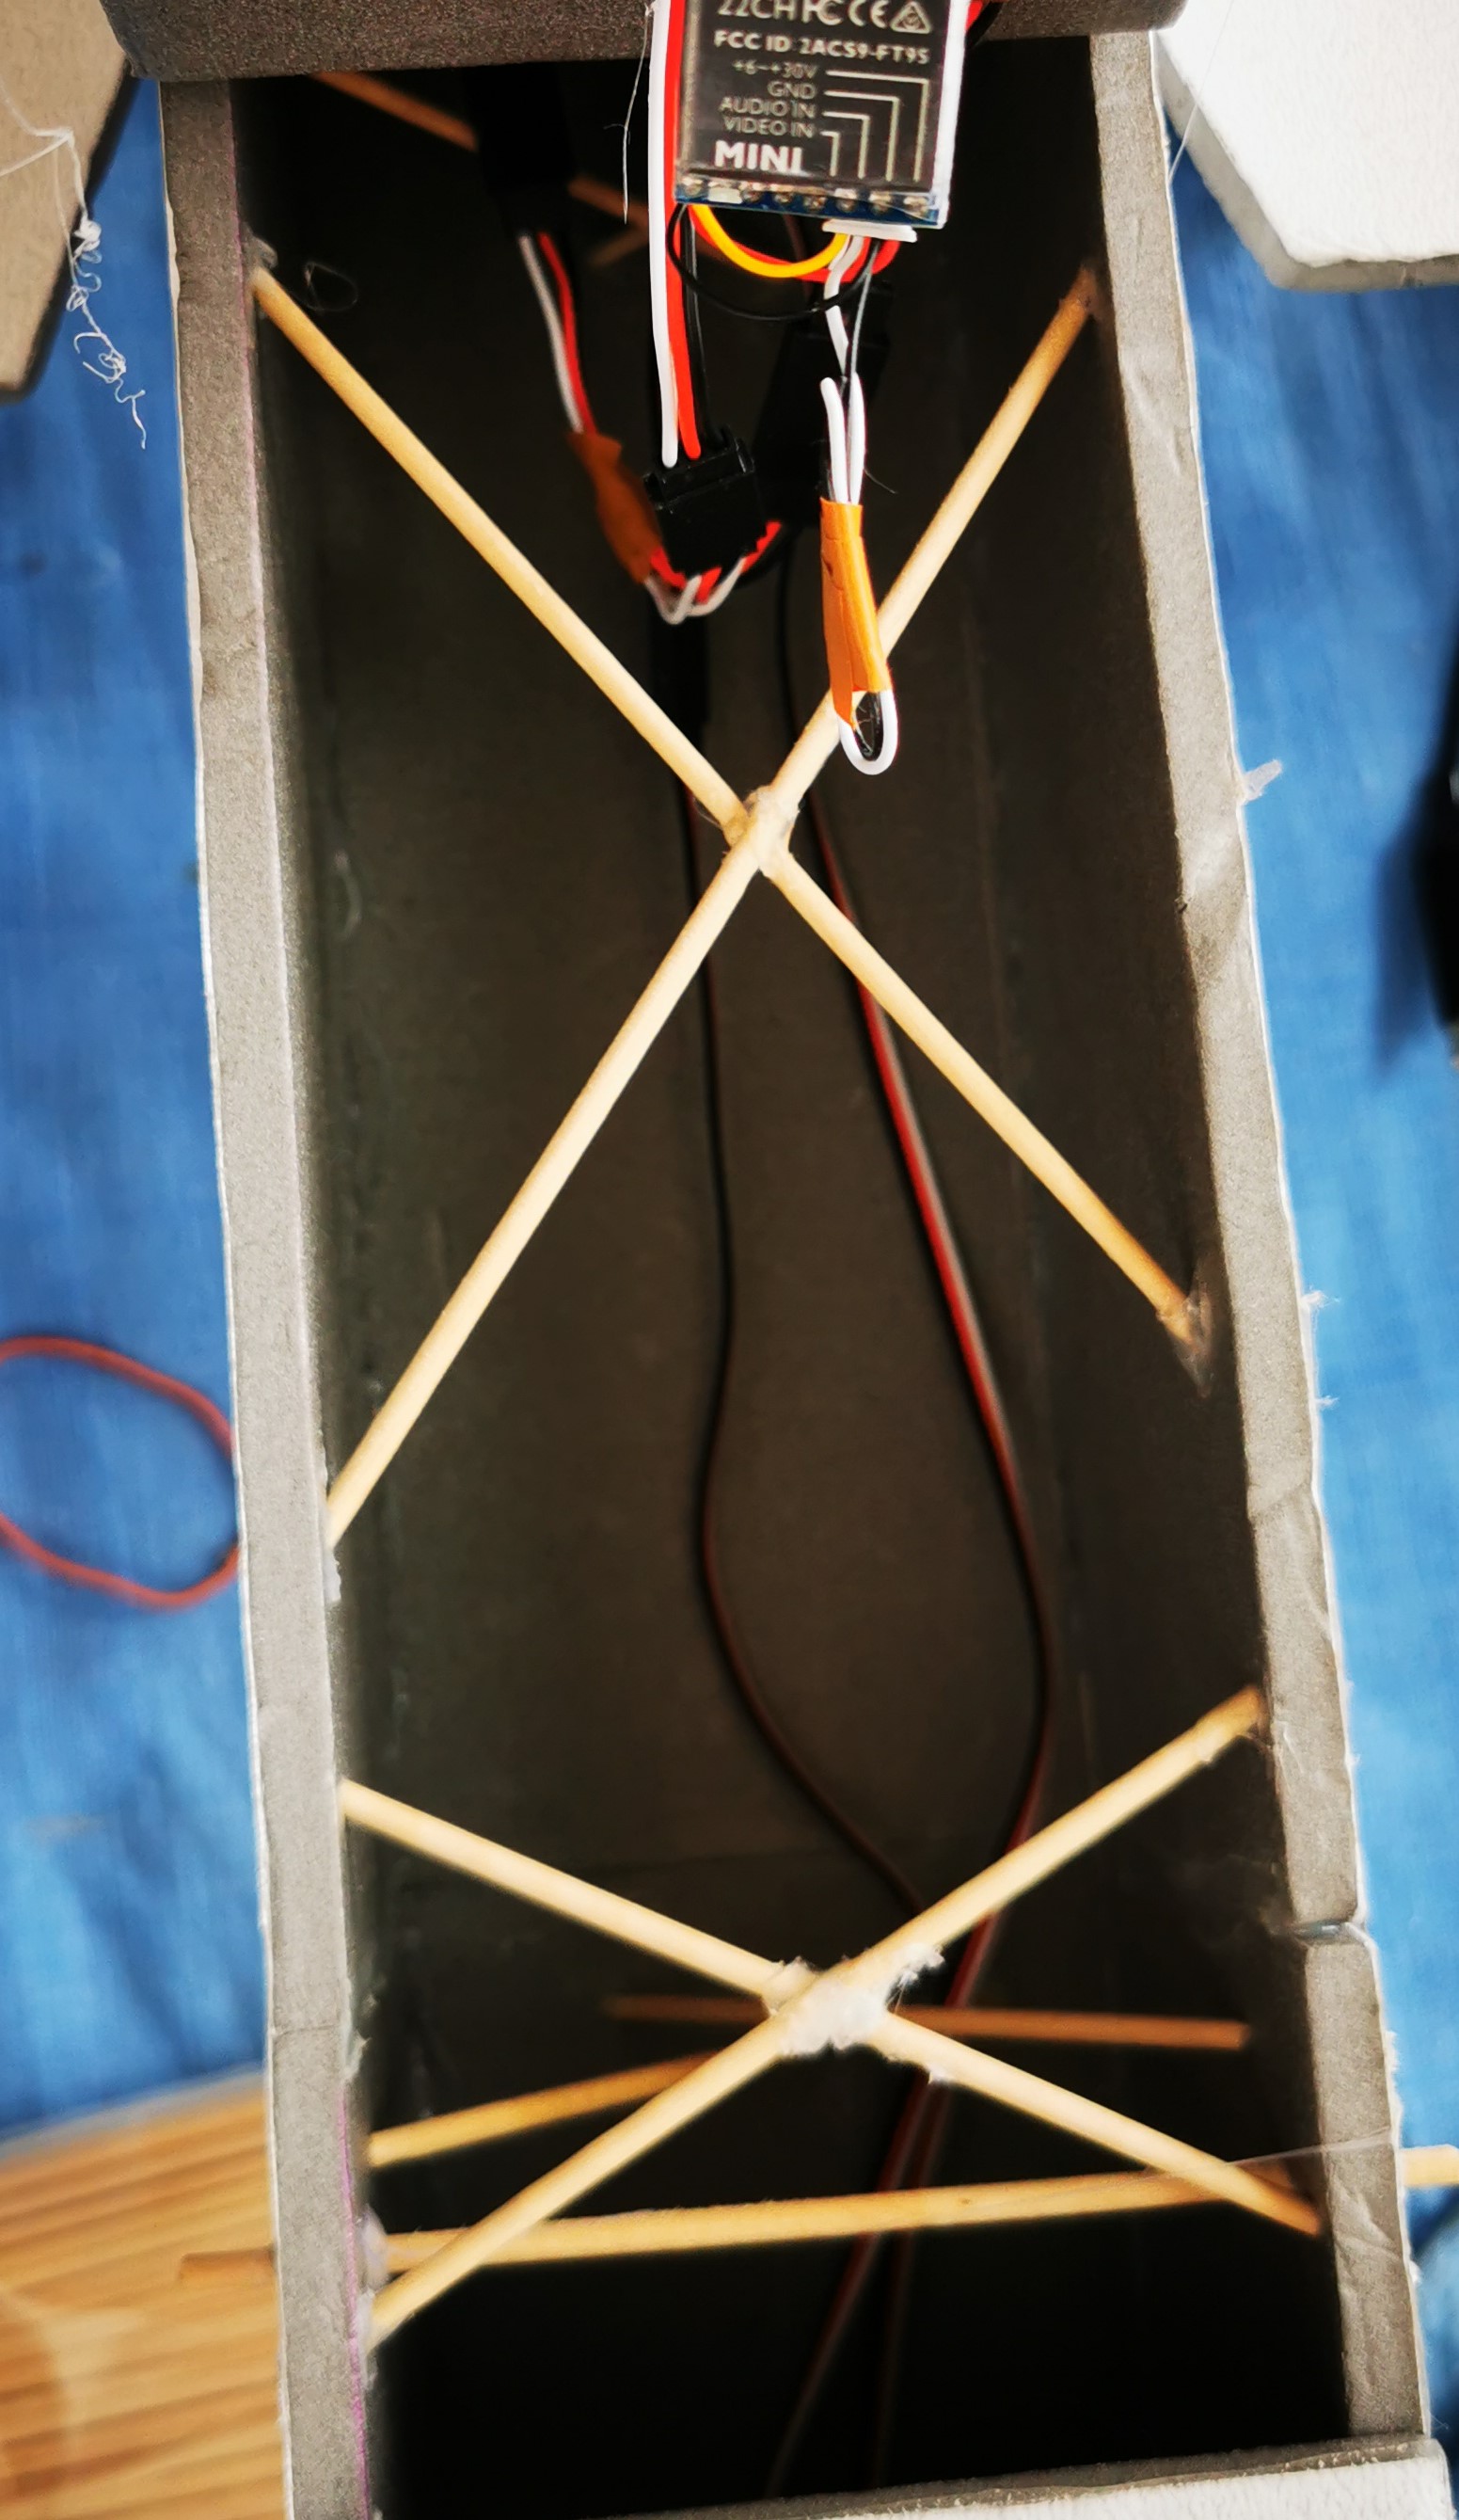
I added such struts until sufficient stability was achieved. Everything, however, always according to feeling. Probably far fewer struts will suffice.
Laminating the xps panels#
I originally started by installing the panels first and then foiling the resulting shape. However, it is much easier to glue the entire plate. Especially when building the wings, it is much easier to form the correct shape when the tape provides additional stability. (As long as you don't accidentally cut the tape).